2 Before you begin
This chapter serves to get the practicalities out of the way so you can start programming. Read the whole chapter once carefully before you install anything
Install Python
In this course, we use the Python programming language and you need to install the Python program to run the code we will write. I have automated the installation procedure, which include a few other tools that you will also need later in the course:
- Click the clipboard icon at the right end of the box below to copy the command to your clipboard.
curl -fsSL http://munch-group.org/franklin-cli/installers/scripts/install-pixi.sh | bash -s -- --force- Open your Terminal application.
- Paste the command into the Terminal window and press Enter. You will be prompted several times for either your user password or permissions of the installed apps.
- Restart your Terminal app and then run this command:
pixi global install -c conda-forge -c munch-group -c sepandhaghighi python pythonsteps- Click the clipboard icon at the right end of the box below to copy the command to your clipboard.
powershell -ExecutionPolicy ByPass -c "irm -useb http://munch-group.org/franklin-cli/installers/scripts/Install-Pixi.ps1" > installer.ps1 ; dir "$env:USERPROFILE/Downloads/*.ps1" | Unblock-File ; powershell -ExecutionPolicy ByPass -File "installer.ps1" -Force -Quiet- Find Windows PowerShell and open it by right-clicking it and select “Run as administrator”.
- Paste the command into the PowerShell window and press Enter. You may be prompted several times to allow the app to make changes to your computer.
- Once the Pixi installation has completed successfully, you need to restart the Windows Powershell application.
- You can install Python by opening Windows Powershell and paste the command below into the window and press enter.
pixi global install -c conda-forge -c munch-group -c sepandhaghighi python pythonstepsIf you see any red text during the installation, the installation was not successful. In that case take a screenshot and send it to kaspermunch@birc.au.dk.
The text editor
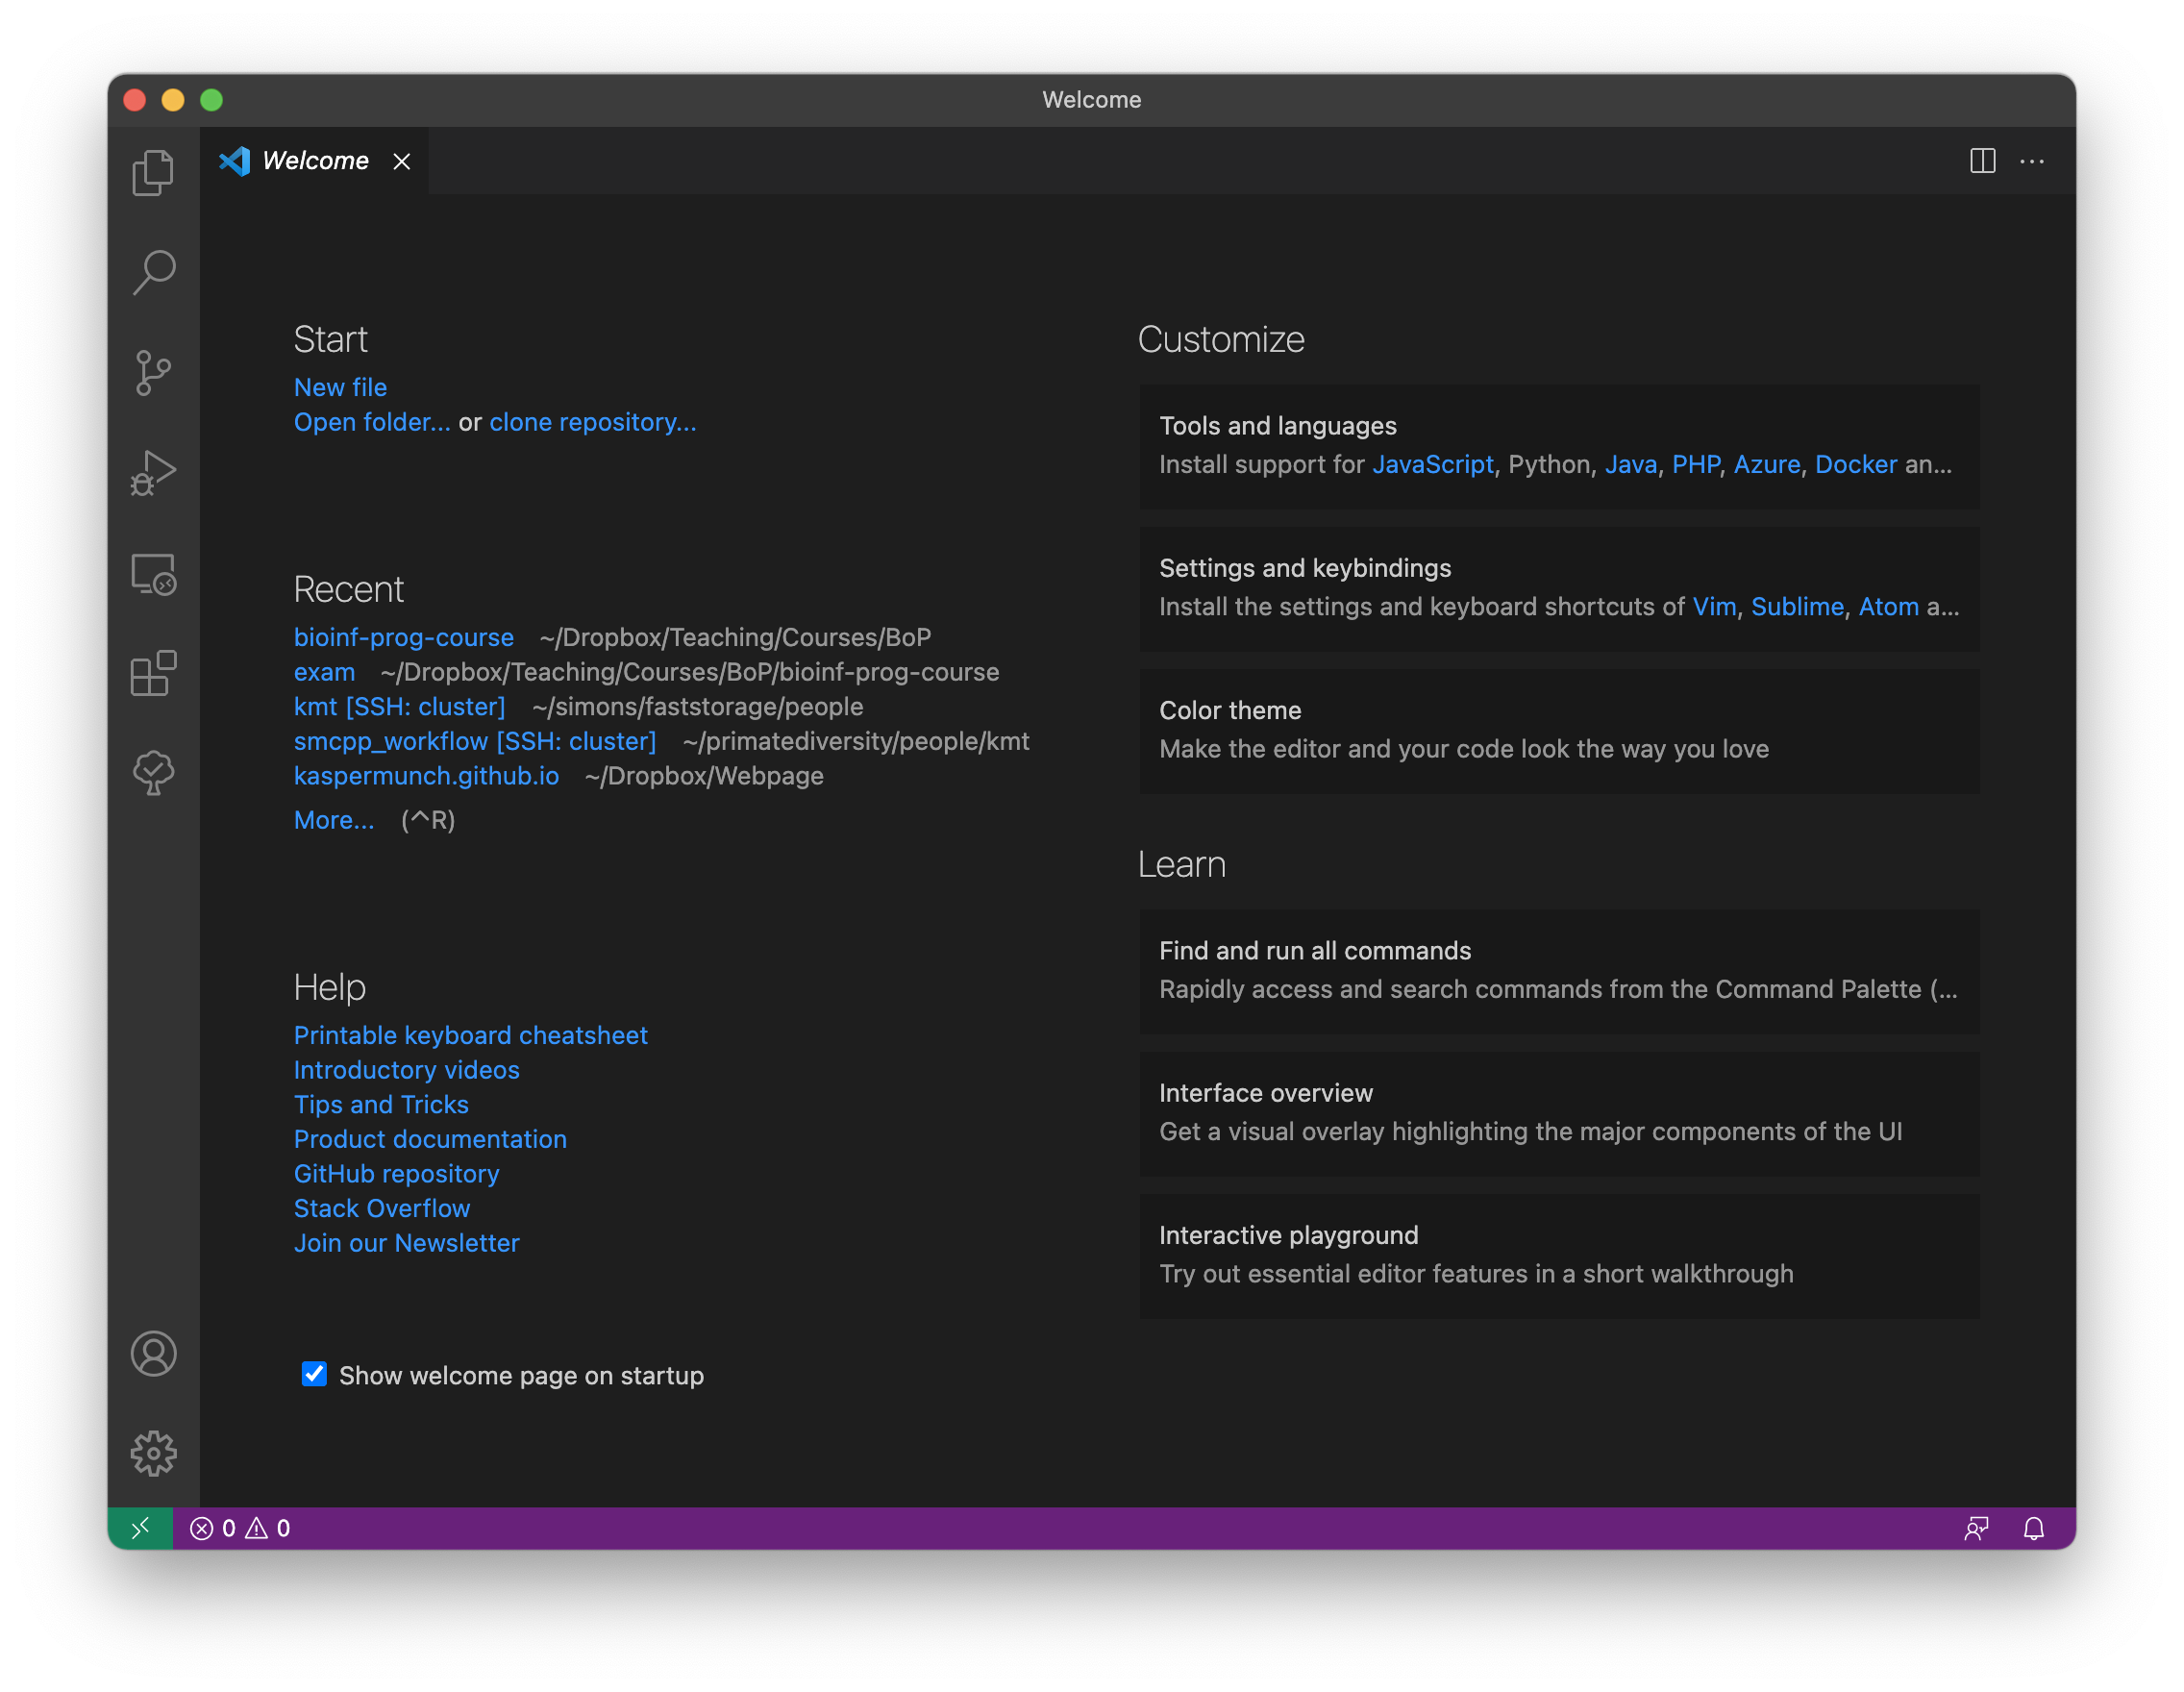
You will also need a text editor. A text editor is where you write your Python code. For this course, we will use Visual Studio Code - or VScode for short. You can download it from this page. If you open VScode, you should see something like Figure 2.1. You may wonder why we cannot use Word to create and edit files with programming code. The reason is that a text editor made for programming, such as VScode, only saves the actual characters you type. So, unlike Word, it does not silently save all kinds of formatting, like margins, boldface text, headers, etc. With VScode, what you type is exactly in the file when you save it. In addition, where Word is made for prose, VScode is made for programming and has many features that will make your programming life easier.
The terminal
The last thing you need is a tool to make Python run the programs you write. Fortunately, that is already installed. On OSX, this is an application called Terminal. You can find it by typing “Terminal” in Spotlight Search. When you start, you will see something like Figure 2.2. You may be presented with the following text:
The default interactive shell is now zsh.
To update your account to use zsh, please run `chsh -s /bin/zsh`.
For more details, please visit https://support.apple.com/kb/HT208050.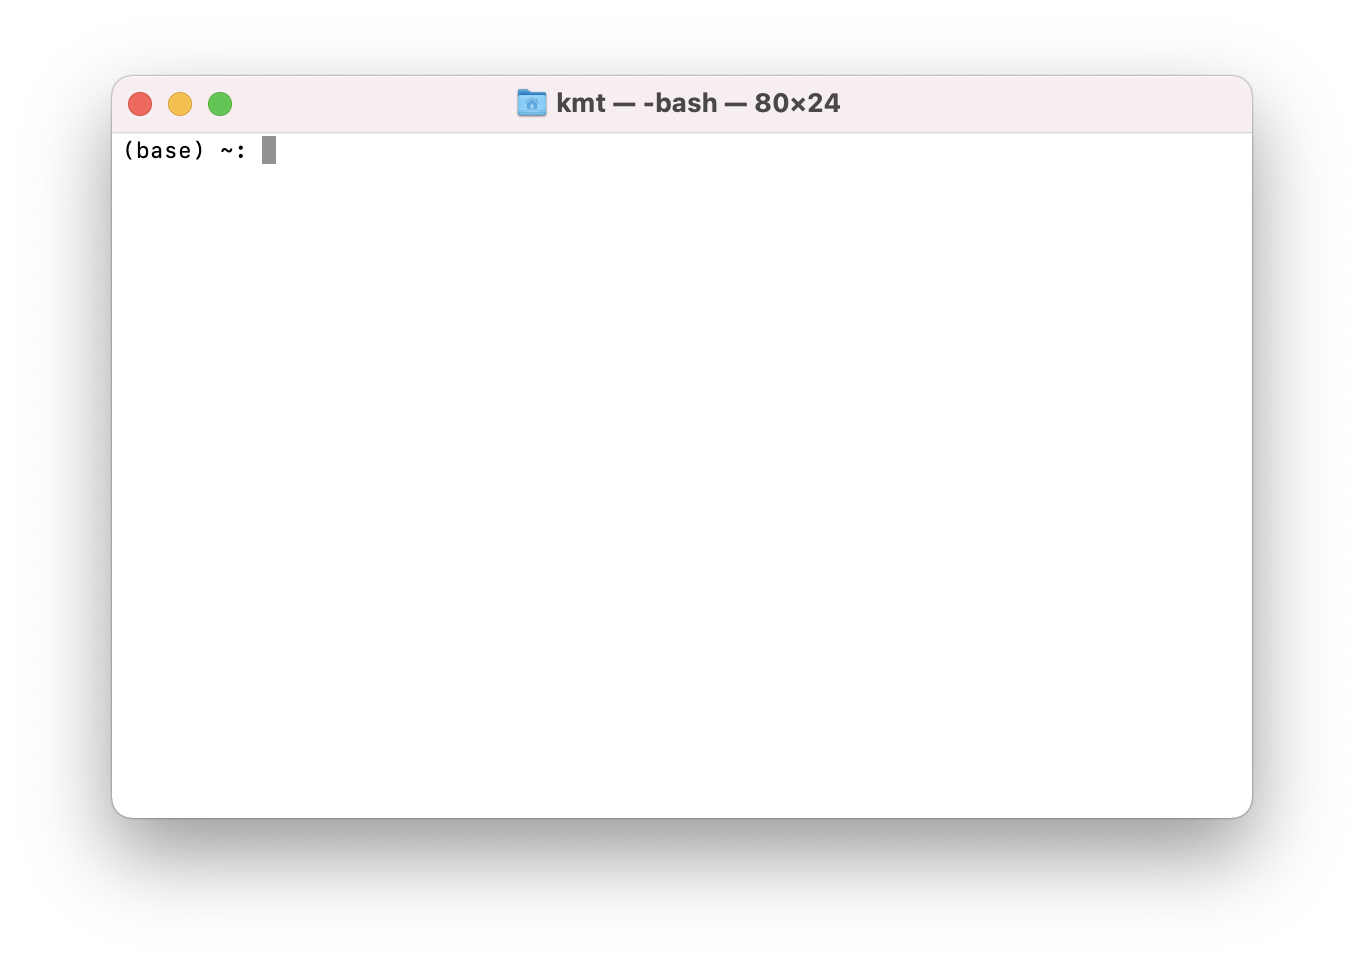
Do not update your account. If you do, Terminal will not be able to find the Python you install (If you did so by mistake, you change back using this command: chsh -s /bin/bash).
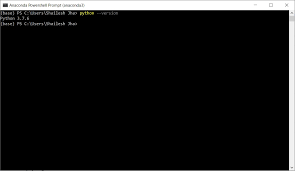
On Windows, the tool you need is called the Windows Powershell. You should be able to find it from the Start menu. Ensure you open Windows Powershell and not some other shell (The name should be exactly Windows Powershell). When you do, you should see something like Figure 2.3.
What is Windows Powershell and this Terminal thing? Both programs are what we call terminal emulators. They are used to run other programs, like the ones you will write yourself. I will informally refer to both Terminal and Windows Powershell as “the terminal.” So if I write something like “open the terminal,” you should open Windows Powershell if you are running Windows and the Terminal application if you are running OS X.
The terminal is a very useful tool. However, to use it, you need to know a few basics. First of all, a terminal lets you execute commands on your computer. You type the command you want and then hit enter. The place where you type is called a prompt (or command prompt), and it may look a little different depending on which terminal emulator you use. In this book, we represent the prompt with the character $. So, a command in the examples below is the line of text to the left of the $. When you open the terminal, you’ll be redirected to a folder. You can see which folder you are in by typing pwd, and then press Enter on the keyboard. When you press Enter, you tell the terminal to execute your written command. In this case, the command you typed tells you the path to the folder we are in. If I do it, I get:
Terminal
$ pwd
/Users/kasper/programming
If I had been on a Windows machine, it would have looked something like this:
Terminal
$ cd
C:\Users\kasper\programming
So, right now, I am in the programming folder. /Users/kasper/programming is the folder’s path or “full address” with dashes (or backslashes on Windows) separating nested folders. So programming is a subfolder of kasper, a subfolder of Users. That way, you know which folder you are in and where that folder is. Let us see what is in this folder. You can use the ls command (l as in Lima and s as in Sierra). When I do that and press Enter I get the following:
Terminal
$ ls
notes projects
There seem to be two other folders, one called notes and another called projects. If you are curious about what is inside the notes folder, you can “walk” into the folder with the cd command. To use this command, you must specify which folder you want to walk into (in this case, notes). We do this by typing cd, then a space, and then the folder’s name. When I press Enter I get the following:
Terminal
$ cd notes
$
It seems that nothing really happened, but if I run the pwd command now to see which folder I am in, I get the following:
Terminal
$ pwd
/Users/kasper/programming/notes
Just to keep track of what is happening: before we ran the cd command, we were in the directory /Users/kasper/programming folder, and now we’re in /Users/kasper/programming/notes. This means that we can now use the ls command to see what is in the notes folder:
Terminal
$ ls
$
Again, it seems like nothing happened. Well, ls and dir do not show anything if the folder we are in is empty. So notes must be empty. Let us go back to where we came from. To walk “back” or “up” to /Users/kasper/programming, we again use the cd command, but we do not need to name a folder this time. Instead, we use the special name .. to say that we wish to go to the parent folder called programming, i.e., the folder we just came from:
Terminal
$ cd ..
$ pwd
/Users/kasper/programming
When we run the pwd command, we see that we are back where we started. Let us see if the two folders are still there:
Terminal
$ ls
notes projects
They are!
Hopefully, you can now navigate your folders and see what is in them. You will need this later to access the folders with the code you write for the exercises and projects during the course.
| Action | OSX |
|---|---|
| Show current folder | pwd |
| List folder content | ls |
| Go to subfolder “notes” | cd notes |
| Go to parent folder | cd .. |
You are all set
Well done! You are all set to start the course. Have a cup of coffee, and look forward to your first program. While you sip your coffee, I need you to take an oath (one of three you will take during this course). Raise your right hand! (put your coffee down first).
I swear never to copy and paste code examples from this book into my text editor. I will always read the examples and then type them into my editor.
This serves three purposes (as if one was not enough):
- You will be fully aware of every bit of each example.
- You will learn to write code correctly and without omissions and mistakes.
- You will get Python “into your fingers”. It sounds silly, but it will get into your fingers.